

This blog, will help you understand how Kubernetes Engine works and how it helps deploy applications in cloud containers.
What is Kubernetes Engines?
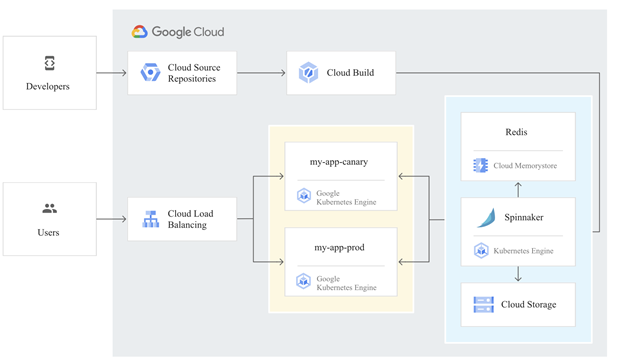
Kubernetes allows you to move work from one cloud service provider to another with minimal effort from a not super technical perspective. It enables rapid application development and iteration by simplifying the deployment, updating, and management of applications and services. And the resources used to build Kubernetes Engine clusters come from Compute Engine.
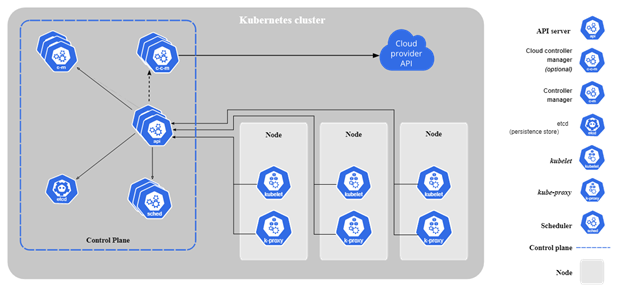
The components of Kubernetes
When you deploy Kubernetes, you get a cluster. A Kubernetes cluster consists of work machines (called nodes) that run containerized applications. Each cluster has at least one worker node. A group of one or more containers is called a pod. Containers in a pod are deployed together. They start, stop, and replicate as a group.
So let’s start learning how to configure a Kubernetes cluster in the Kubernetes Engine.
Below are the steps we can follow to create a Google Kubernetes Engine cluster containing several containers, in an example of each containing a web server.
Step1. Confirm that needed APIs are enabled
1. In the GCP Console, on the Navigation menu (), click APIs & Services.
2. Scroll down in the list of enabled APIs, and confirm that both of these APIs are enabled:
- Kubernetes Engine API
- Container Registry API
Step2. Start a Kubernetes Engine cluster
1. Access to Cloud Shell
2. Place the zone that you want to work on
export MY_ZONE=us-central1-a
3. Start a Kubernetes cluster managed by Kubernetes Engine. Name the clusterwebfrontendand configure it to run 2 nodes:
gcloud container clusters create webfrontend –zone $MY_ZONE –num-nodes 2
4. After the cluster is created, check your installed version of Kubernetes using thekubectlversion command:
kubectl version
5. click Compute Engine > VM Instances. Your Kubernetes cluster is now ready for use.
Step3. Run and deploy a container
1. From your Cloud Shell prompt, launch a single instance of thenginxcontainer. (Nginx is a popular web server.)
kubectl create deploy nginx –image=nginx:1.17.10
2. View the pod running thenginxcontainer:kubectl get pods
3. Expose thenginxcontainer to the Internet:
kubectl expose deployment nginx –port 80 –type LoadBalancer
4. View the new service:kubectlget services
5. Open a new web browser tab and paste your cluster’s external IP address into the address bar.
6. Scale up the number of pods running on your service:
kubectl scale deployment nginx –replicas 3
7. Confirm that Kubernetes has updated the number of pods:
kubectl get pods
8. Confirm that your external IP address has not changed:
kubectl get service
9. Return to the web browser tab where you viewed your cluster’s external IP address. Refresh the page to confirm that thenginxweb server is still responding.
By the finish the above steps: Provision a Kubernetes cluster using Kubernetes Engine. Deploy and manage Docker containers using kubectl.